How to Remove the KineMaster Watermark

Edited by
Ben Jacklin
6,694

If you've ever edited a clip on your phone, you've probably run into the small logo stamped in the corner of your finished project. The KineMaster free version watermark appears automatically on every export, and while it's harmless, it can make your videos look less polished and professional. This article walks you through your options for removing it cleanly. You'll learn why the watermark shows up, the legitimate ways to get rid of it, and which method fits your budget and editing goals best.

Why KineMaster adds a watermark

KineMaster offers its core editing tools for free, which lets millions of people try the app without paying a cent. To cover the cost of developing and maintaining that software, the company relies on a subscription model. The logo stamped on your exports is a gentle reminder that you're using the free tier, and it acts as an incentive to upgrade.

There's also a marketing angle at play. Every video you share carrying that small logo doubles as free advertising. When a friend watches your clip and spots the branding, they instantly know which app produced it. In effect, your creativity helps spread the word, turning each exported video into a tiny billboard for the platform.

Finally, the watermark serves a licensing purpose. It signals that the project was made under the free, non-commercial terms of use.

The official way to remove a watermark

The cleanest and most reliable method is also the simplest: subscribe to KineMaster Premium. When you upgrade to a paid plan, the app instantly stops adding the logo to your exports, so every project you finish comes out crisp and unbranded. This is the only route the developers themselves endorse, which means you won't risk corrupted files, broken features, or shady third-party apps.

Subscriptions are billed either monthly or annually, and the yearly option usually works out cheaper per month. Once you've paid, the change applies across all your projects, including ones you started before upgrading. There's no extra button to press and no setting to hunt down; the moment your account goes Premium, the KineMaster watermark simply disappears from future renders.

Beyond removing the logo, a paid plan unlocks the full asset library, premium effects, and higher-resolution exports. So while your main goal might be producing a video in KineMaster without a watermark, you also gain a range of creative tools that free users never see. For anyone editing regularly, the upgrade often pays for itself in both polish and convenience.


Removing the logo without paying

Many people search for ways to remove the KineMaster watermark without spending money, and a handful of no-cost tricks do exist. The most common approach is cropping the video after export, using a separate free editor to trim away the corner where the logo sits. This works, but you lose a slice of your frame and may throw off the composition you carefully arranged.

Another option is redeeming a free trial. KineMaster occasionally offers a limited-time Premium trial, which lets you export a few clean projects before the billing period begins. If you cancel in time, you've technically produced watermark-free videos at no charge, though this only helps for a short window rather than as a permanent fix.

You'll also find plenty of third-party apps and websites promising to strip the logo instantly. Be cautious here: these tools often bury ads, request risky permissions, or degrade your video quality. So when weighing how to remove the KineMaster watermark for free, treat any outside program with healthy skepticism before you install it.

Risks of third-party watermark removal tools

Downloading a random KineMaster watermark remover can cost you far more than the subscription you were trying to avoid. Many of these apps bundle malware or spyware that quietly harvests your data, while others flood your screen with intrusive ads. Some demand access to your photos, contacts, or storage, permissions that have nothing to do with editing a video and everything to do with mining your personal information.

Even when a tool is technically safe, the results are often disappointing. Re-encoding your footage through an unknown service can blur the image, wash out colors, or leave a smeared patch where the logo used to be. You may also violate the app's terms of service, putting your account at risk.

Watermark-free editors worth trying

If the logo bothers you enough to consider switching apps, several editors let you export clean videos on their free plans. CapCut, for instance, produces unbranded clips out of the box and packs a generous set of effects, transitions, and audio tools. VN and DaVinci Resolve are two more strong options, offering professional-grade features without stamping their name on your work.

That said, switching isn't always the perfect fix. Each app has its own learning curve, and some reserve their fanciest features behind a paywall even if the basic export stays clean. The smart move is to test a couple, compare their interfaces against what you're used to, and pick the one that balances a tidy final render with the specific tools your projects actually need.

A desktop option: Movavi Video Editor

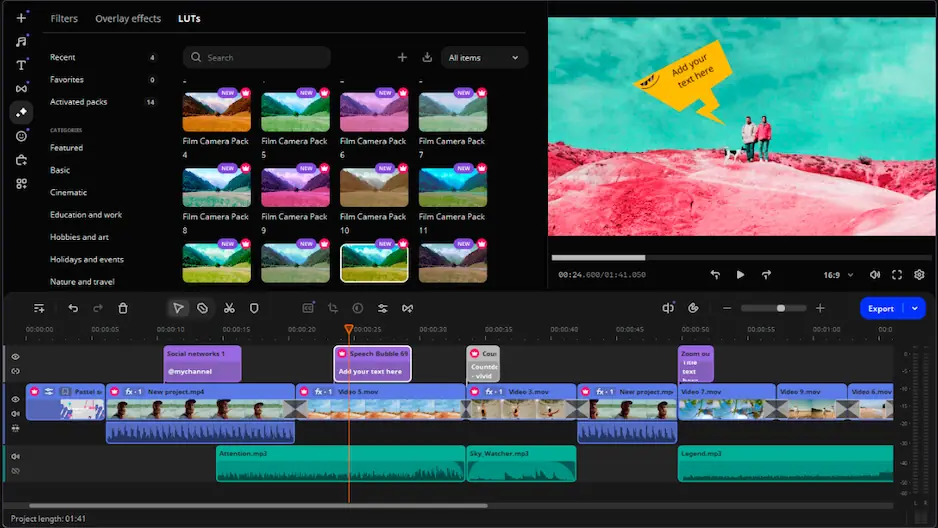
If you'd rather edit on a computer than a phone, Movavi Video Editor is worth a look. It's a beginner-friendly desktop program for Windows and Mac, with drag-and-drop timelines, ready-made effects, and simple export settings that keep the whole process approachable for newcomers.

One thing to know upfront: Movavi's free trial does place its own logo on exports, so a clean render requires a subscription.

Have questions?
If you can’t find the answer to your question, please feel free to contact our Support Team.
Join us for discounts, editing tips, and content ideas

1.5M+ users already subscribed to our newsletter

By signing up, I agree to receive marketing emails from Movavi and agree to Movavi's Privacy Policy.