Why Is Premiere® Pro Lagging?

Edited by
Ben Jacklin
5,579

Adobe® Premiere® Pro lagging playback is one of the most frustrating issues video editors face, disrupting workflow and wasting valuable time. Whether you're a professional or a beginner just starting out, Premiere® Pro playback lag can bring your entire editing process to a halt. Understanding why this problem occurs helps you diagnose and fix the problem fast. So, why is Premiere® Pro lagging? This guide breaks down every common cause and practical solution clearly, so you can get back to editing without interruption.

Identifying the source of the lag

If you’re wondering “Why is my Premiere® Pro so laggy?”, take a few minutes to properly diagnose where the issue is actually coming from. Premiere® Pro lagging can stem from hardware, and applying the wrong solution wastes time. Fortunately, Premiere® Pro and your operating system both provide built-in tools to help you identify the culprit quickly.

If Premiere® Pro playback is choppy, start with your CPU. Open Task Manager (Windows) or Activity Monitor (Mac) during playback and watch for sustained usage hitting 90–100%. This is especially common with 4K or 8K footage, heavily layered timelines, or demanding codecs like H.264 and HEVC. A CPU typically causes lag that worsens as your timeline grows more complex.

GPU-related lag tells a different story. Navigate to Premiere® Pro > Preferences > General and confirm GPU acceleration is enabled. If it's set to Software Only, the program is ignoring your graphics card entirely. Monitor GPU load using GPU-Z (Windows) or Activity Monitor (Mac). Low GPU utilization despite choppy playback on Premiere® Pro may suggest outdated drivers or an incompatible graphics card.

RAM is another frequent issue. Premiere® recommends 16 GB minimum, but multicam sequences, motion graphics, or After Effects® compositions can demand significantly more. If available memory drops near zero during playback, adjust the memory allocation under Preferences > Memory or consider a RAM upgrade for an immediate performance boost.

Finally, your storage drive might be a source of lagging. Editing from a slow external drive or an nearly full disk severely throttles playback. Use CrystalDiskMark (Windows) or Blackmagic Disk Speed Test (Mac) to benchmark read speeds. Note that 4K editing typically requires at least 500 MB/s, which only SSDs can deliver.

Premiere® Pro settings to boost performance

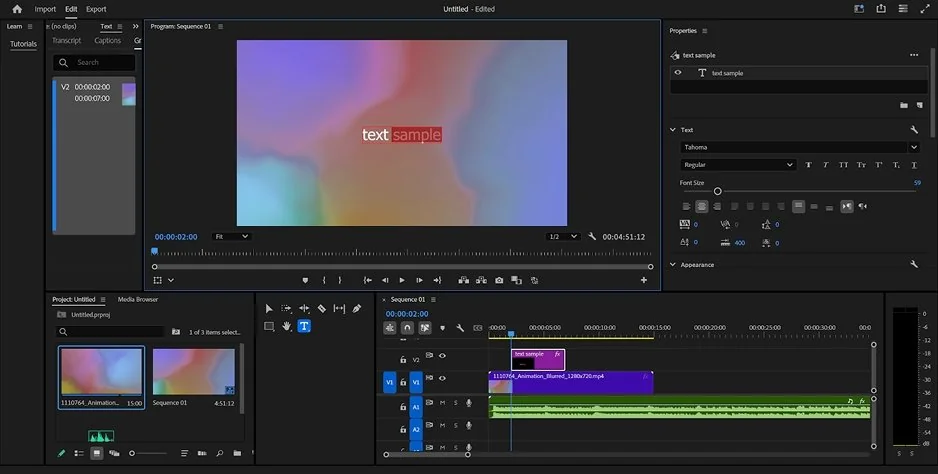
Knowing how to make Premiere® Pro less laggy doesn't always require a hardware upgrade – sometimes the right adjustments are buried inside Premiere's® own menus.

Enable GPU acceleration

Navigate to File > Project Settings > General and locate the Video Rendering and Playback renderer. Switch it from Software Only to Mercury Playback Engine GPU Accelerated. This single change offloads rendering work from your CPU to your graphics card, often producing an instant, noticeable reduction in Premiere® Pro laggy playback across complex timelines.

Lower your preview quality

Found directly in the Program Monitor, the playback resolution dropdown lets you reduce preview quality to 1/2, 1/4, or even 1/8 of full resolution. For editors dealing with Premiere® Pro playback lagging on 4K or higher timelines, dropping to 1/2 resolution delivers smoother playback without affecting your final export quality.

Clear and redirect your cache files

Navigate to Preferences > Media Cache and click Delete Unused to purge outdated cache files that silently accumulate over time. More importantly, redirect your cache location to a dedicated, fast SSD rather than your system drive. A bloated or slow cache is a surprisingly common driver of lag that most editors never think to address.

Reserve more RAM

Under Preferences > Memory, you'll find a slider controlling how much RAM is reserved for other applications versus Premiere® Pro. Reducing the RAM allocated to other applications pushes more memory directly toward Premiere®, helping prevent the slowdowns that occur when the editor is forced to rely on slower virtual memory during intensive playback sessions.

Match your footage with a sequence preset

An often-overlooked culprit behind lag is a sequence preset that doesn't match your footage format. Go to Sequence > Sequence Settings and ensure your sequence resolution, frame rate, and codec align with your source media. Mismatched settings force the editor to perform constant real-time transcoding, quietly draining performance throughout your entire editing session.

How to lower preview resolution without losing final export quality

One of the simplest and most effective ways to combat Premiere® Pro slow playback is adjusting your preview resolution. Inside the Program Monitor, click the resolution dropdown (it typically defaults to Full) and select 1/2 or 1/4 resolution. The program will display a softer preview image during editing, but your timeline data remains completely untouched. When you hit Export, Premiere® renders from the original full-resolution source files regardless of what preview setting you used, meaning your delivered video looks exactly as intended.

Premiere® Pro preview lag tends to be most severe when the user is simultaneously decoding high-bitrate footage, processing effects, and driving a high-resolution monitor. Reducing just one of those variables through preview resolution creates meaningful breathing room for the rest of the system. Set a habit of working at 1/2 resolution during the rough cut stage, switching back to Full only when evaluating color grading or visual effects.

Premiere® Pro system requirements vs. what you actually need

Adobe's official minimum system requirements for Premiere® Pro represent the bare threshold for launching the software. Meeting minimums means playback on Premiere® Pro is choppy the moment your timeline carries more than a few basic cuts, particularly with modern high-resolution footage formats.

Professional users recommend treating Adobe's recommended specifications as a minimum baseline. A fast multi-core CPU, 32 GB of RAM, a dedicated GPU with at least 4 GB VRAM, and an NVMe SSD for media storage is the realistic foundation for a smooth editing experience.

Still lagging? Consider a lighter video editor

When every setting has been optimized, switching video editors may be the most practical path forward. If playback on Premiere® Pro is choppy despite your best efforts, lighter alternatives like Movavi Video Editor, CapCut, or Kdenlive are worth exploring. Each of these apps places considerably less strain on hardware while still delivering professional-grade results.

Alternative: Movavi Video Editor

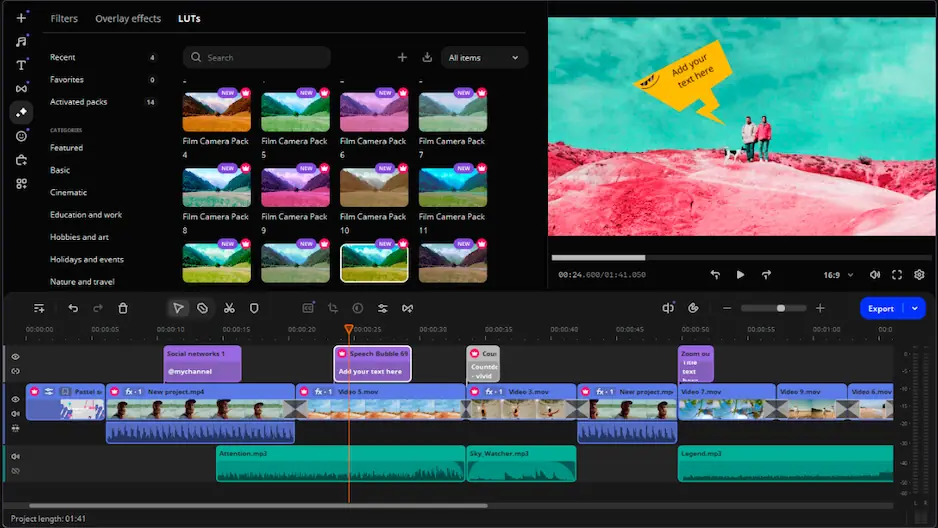
Designed with low-end and mid-range systems in mind, Movavi Video Editor places a fraction of the processing demand on your CPU and RAM. Its streamlined interface eliminates the performance overhead, making smooth playback achievable even on older laptops and budget desktop builds.

Beyond raw performance, Movavi Video Editor offers multi-track timelines, built-in color correction, motion tracking, titles, transitions, and direct export presets for every major platform. The learning curve is significantly gentler than Premiere's®, meaning less time troubleshooting and more time actually editing. For content creators, freelancers, or hobbyists who don't require an advanced feature set, Movavi delivers a smooth and accessible editing experience without demanding high-end hardware.

Have questions?
If you can’t find the answer to your question, please feel free to contact our Support Team.
Join us for discounts, editing tips, and content ideas

1.5M+ users already subscribed to our newsletter

By signing up, I agree to receive marketing emails from Movavi and agree to Movavi's Privacy Policy.