
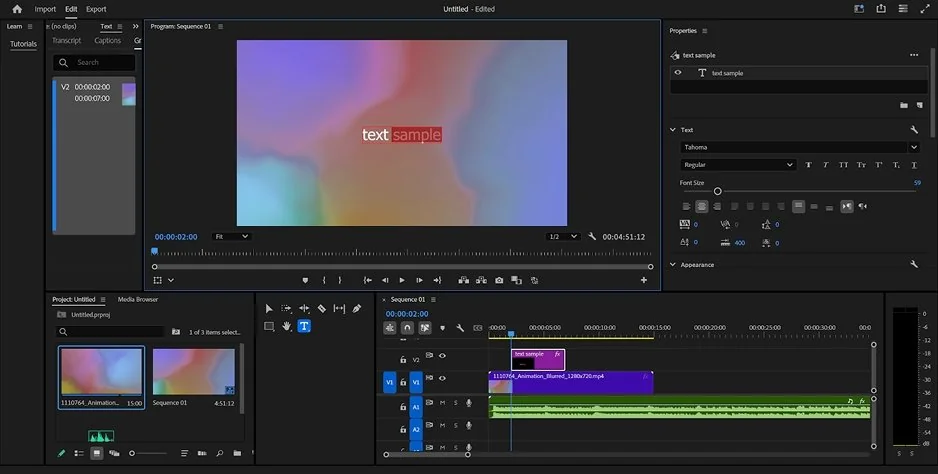
Premiere® Pro Won't Export? Easy Fixes That Work

Edited by
Ben Jacklin
5,532

Quick fixes

Before diving into complex troubleshooting, try these fast solutions that resolve export problems more often than you'd expect:

  • Reboot Premiere® Pro and your computer. Closing and reopening the software clears out memory leaks and lingering background processes that quietly interfere with rendering. A full system restart takes it a step further, freeing up resources your export needs.
  • Change your export codec. A stubborn project that chokes on H.264 will frequently sail through when you switch to a different format like QuickTime or ProRes. Swapping the codec sidesteps format-specific glitches without touching your edit.
  • Lower your output resolution. Dropping from 4K down to 1080p eases the strain on your system's hardware, giving an overloaded machine the breathing room it needs to finish the job.

What causes Premiere® Pro to freeze or fail during export?

When you hit export and everything grinds to a halt, it rarely happens without a reason. In most cases, the software is struggling with more than it can handle, and understanding the underlying triggers makes the difference between a quick fix and hours of guesswork. The moment Premiere® Pro won't export cleanly, it's usually signaling a conflict somewhere in your project, your media, or your system.

The most frequent offender is corrupted or incompatible source footage. A single damaged clip or one recorded in an unusual format can stop the render dead in its tracks, which is why the notorious Premiere® Pro’s “Error compiling movie” alert so often points back to a problem buried deep in the timeline rather than the export settings themselves.

Hardware limitations play an equally large role. Insufficient RAM, an overworked GPU, or a nearly full scratch disk leaves the program without the resources it needs to process high-resolution frames, causing it to freeze mid-export or quit entirely.

Finally, software conflicts and corrupted preferences can quietly sabotage the process. Outdated drivers, buggy plugins, or damaged cache files all destabilize rendering, turning what should be a routine task into a frustrating cycle of failed attempts.

How to solve the movie compilation error

Once quick resets fail to help, it's time for targeted repairs that address the deeper faults in your project. The key is to work methodically, isolating one variable at a time so you can identify exactly what's breaking the render rather than changing everything at once and hoping for the best.

Begin by locating the problem clip. Render your timeline in small sections using the in and out points, and export each segment separately. When one chunk refuses to process, you've found the source of the error compiling the movie in Premiere® Pro, and you can then replace, transcode, or trim the offending footage to restore stability.

Next, clear your media cache and reset preferences. Navigate to your cache settings, delete the accumulated files, and hold Alt (or Option on a Mac) while launching the program to reset corrupted preferences. This often resolves the stubborn Premiere® Pro export error code 39, which typically surfaces from damaged cache data or write-permission conflicts on your export drive.

If issues persist, update your graphics drivers and Premiere® Pro itself, then disable third-party plugins one by one. Adjusting your export to a different drive with ample free space frequently seals the fix, giving your render a clean, unobstructed path to completion.

How to resolve GPU-related rendering failures

Your graphics card carries much of the load during export, so when it falters, the whole process suffers. A GPU render error Premiere® Pro throws at you usually traces back to how the software communicates with your hardware acceleration and thankfully, the settings that control this are among the easiest to adjust.

Start by switching your renderer. Open your project settings and toggle between the Mercury Playback Engine's GPU acceleration and the Software Only mode. If the hardware option keeps crashing, forcing the program to render on your CPU instead sidesteps the conflict entirely, trading a little speed for a lot of reliability.

Frozen progress bars call for their own approach. When you find Premiere® Pro encoding stuck at 100 percent, the video has usually finished while the audio or a final write operation hangs in the background. Give it a few extra minutes before assuming failure, then try exporting the audio and video separately, or route the job through Adobe Media Encoder to bypass whatever is jamming the final step.

For lasting stability, keep your GPU drivers current but avoid brand-new releases, which occasionally introduce fresh bugs. A clean driver reinstall, paired with adequate cooling to prevent thermal throttling, keeps your card performing steadily through even the longest renders.

A reliable backup plan: Movavi Video Editor
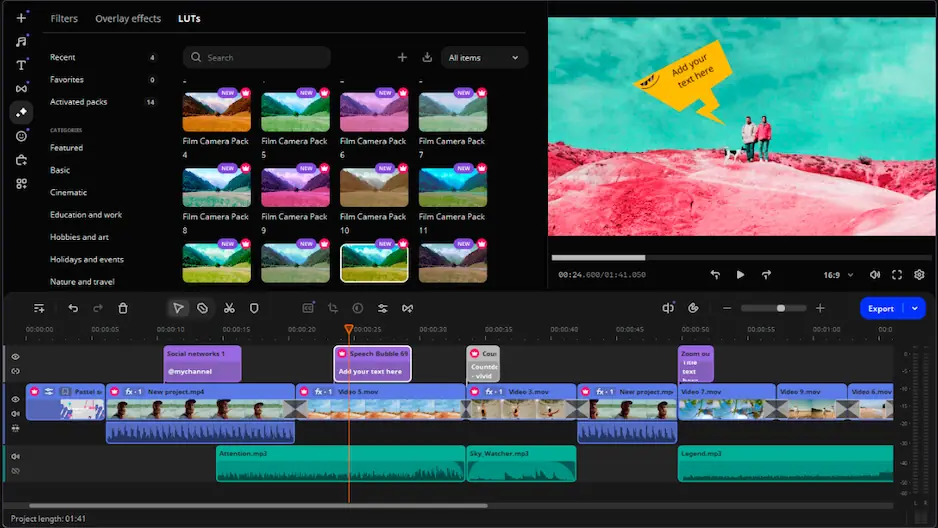
Sometimes a deadline won't wait for troubleshooting, and you simply need your video finished. When Premiere® Pro refuses to cooperate no matter what you try, Movavi Video Editor offers a practical escape route. Its lightweight design places far less demand on your hardware, so exports that stalled on a heavier program often complete smoothly here.

Getting your work across is straightforward: export whatever footage and edits you can salvage from Premiere® as an intermediate file, then import it into Movavi to add finishing touches and render the final cut. With a clean, beginner-friendly interface and dependable output options, it lets you deliver a polished video on time.


Have questions?
If you can’t find the answer to your question, please feel free to contact our Support Team.
Join us for discounts, editing tips, and content ideas

1.5M+ users already subscribed to our newsletter

By signing up, I agree to receive marketing emails from Movavi and agree to Movavi's Privacy Policy.