
How to Sharpen Blurry Videos in Premiere® Pro

Edited by
Ben Jacklin
4,462

Blurry footage can turn an otherwise great video into a mess, but the good news is that you don't need to reshoot anything to fix it. Learning how to fix blurry videos in Premiere® Pro is easier than you might think, thanks to built-in tools that sharpen details, recover clarity, and enhance overall image quality. In this guide, you'll discover simple, step-by-step techniques to rescue blurry clips and give your videos the crisp, professional look.

Common reasons your video loses quality in Premiere® Pro

Before reaching for any sharpening tools, it helps to understand what's actually causing the softness. In many cases, the original clip isn't the problem at all, the settings around it are. Knowing the real culprit saves you from applying fixes that won't work or, worse, degrade your footage even further.

One of the most common frustrations is finding your video blurry after rendering in Premiere® Pro, even though the clip looked perfectly sharp on the timeline. This usually points to a mismatch between your sequence settings and your export settings, such as a lower resolution, a reduced bitrate, or a codec that compresses too aggressively for the platform you're uploading to.

If your video is blurry after rendering in Premiere® Pro, the cause might be a difference between your footage resolution and your sequence resolution. Dropping 4K clips into a 1080p sequence, or scaling a small clip up to fill the frame, forces the software to stretch pixels it doesn't have, which softens edges and washes out fine detail.

Playback settings can trick you too. Premiere® often lowers preview quality to keep editing smooth, so what looks fuzzy while you work may actually be fine on export, and vice versa.

How to export sharp 1080p and 4K videos

When you open the Export panel, start with the format: H.264 remains the best all-around choice for both online and offline delivery, offering a strong balance between file size and image quality.

Bitrate is where most quality is won or lost, and it's frequently the answer to how to fix pixelated videos in Premiere® Pro. For 1080p footage, set your target bitrate to roughly 16–24 Mbps; for 4K, push it up to 40–50 Mbps or higher. A low bitrate forces heavy compression, which is what breaks smooth gradients into blocky, pixelated patches.

Match your resolution to your source and your destination. If you filmed in 4K and your platform supports it, export at 3840 × 2160 rather than downscaling to 1080p. When 1080p is your target, make sure your sequence was built at 1920 × 1080 so the software isn't resizing the frame during export.

Finally, enable Maximum Render Quality and set the bit depth appropriately for demanding footage with fine detail or motion. These options ask a little more of your computer, but they preserve sharpness that faster, lower-quality settings tend to smear away.

Choosing the right format and codecs for each platform

While bitrate does the heavy lifting for clarity, the format and codec you choose determine how well your video survives once a platform re-compresses it. Every social media site runs your upload through its own encoder, so picking a delivery format that plays nicely with that process keeps more of your original detail intact.

For YouTube and Vimeo, H.264 in an MP4 wrapper remains the safe, high-quality standard, and both platforms happily accept 4K uploads. If your project involves HDR or you want maximum fidelity for archival masters, H.265 (HEVC) preserves finer detail at similar file sizes, though it demands more processing power to encode and decode.

For Instagram, TikTok, and other mobile-first platforms, stick with H.264 MP4 at a vertical or square resolution that matches the feed. These apps compress aggressively, so uploading a clean, high-bitrate file gives their encoder more to work with, reducing the mushy artifacts that appear after re-processing.

Fixing playback and preview resolution issues

Sometimes the softness you see never existed in your actual clip at all. To keep editing responsive on ordinary hardware, Premiere® deliberately reduces the quality of what it shows you during playback, which means the fuzziness on your screen can be completely separate from what ends up in your final export.

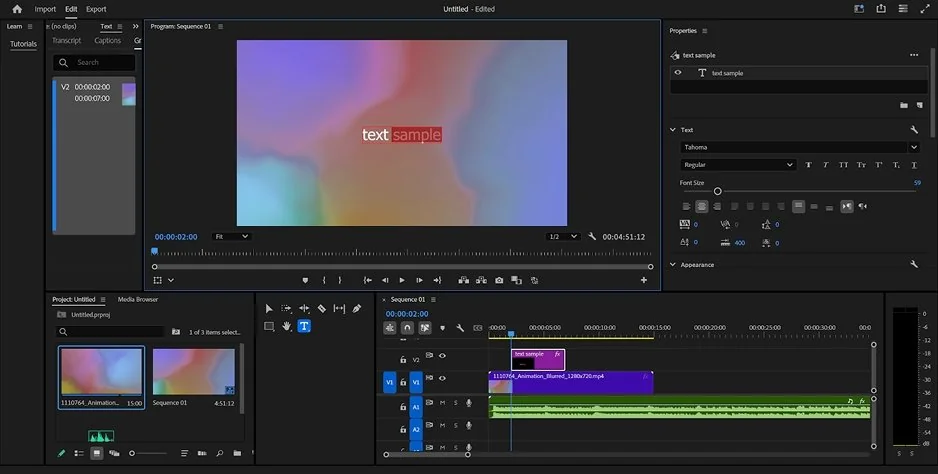
In most cases, Premiere® Pro video is blurry due to a playback resolution setting rather than a real defect. Look at the dropdown menu beneath the Program Monitor: if it's set to 1/2, 1/4, or 1/8, you're watching a downscaled preview. Bumping it back to Full restores clarity, though it may cause playback to stutter on slower machines.

A related complaint is when Premiere® Pro text looks pixelated during editing, with clean titles suddenly appearing jagged along their edges. This is usually the same low preview resolution at work, since crisp lettering is especially sensitive to downscaling. Rendering the timeline or exporting the sequence almost always reveals smooth, sharp text.

The takeaway is simple: before troubleshooting anything, confirm whether the problem survives a render. If a quick export looks perfect, your footage was fine all along, and you can keep your preview lowered to work faster without worry.

Try an alternative: Movavi Video Editor
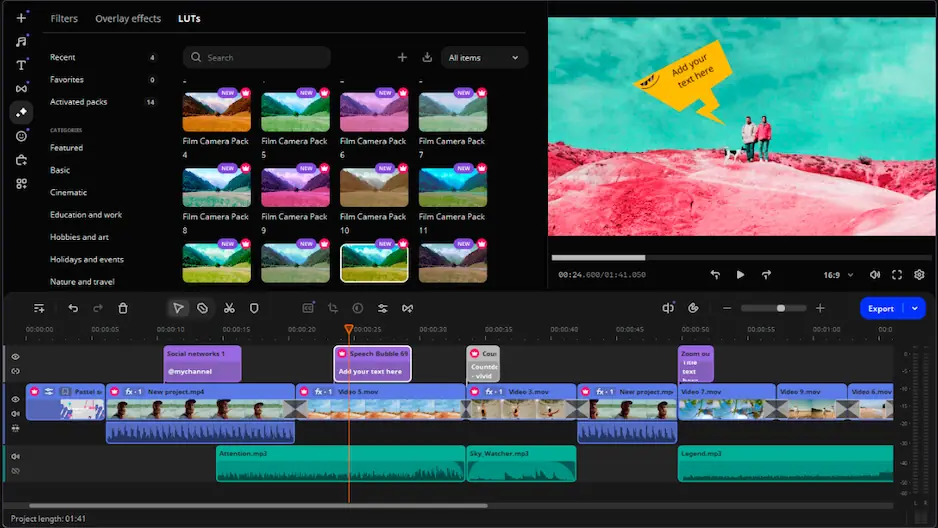
If wrestling with export panels and effect stacks feels like more effort than you signed up for, Movavi Video Editor offers a friendlier path to the same goal. Designed with beginners in mind, it puts sharpening, upscaling, and quality-enhancement tools behind simple sliders, so you can rescue blurry clips without memorizing technical terms or hunting through menus.

Movavi Video Editor handles common issues in just a few clicks, making it an ideal alternative for quick edits, casual projects, or situations where you simply want a clearer result without the steep learning curve.


Have questions?
If you can’t find the answer to your question, please feel free to contact our Support Team.
Join us for discounts, editing tips, and content ideas

1.5M+ users already subscribed to our newsletter

By signing up, I agree to receive marketing emails from Movavi and agree to Movavi's Privacy Policy.