
Audio Not Working in Premiere® Pro – Causes & Easy Fixes

Edited by
Ben Jacklin
4,156

Few things derail a project faster than hitting play and getting silence. If you're dealing with the Premiere® Pro no audio issue, the culprit is usually something small and fixable – a muted track, the wrong output device, a mismatched sample rate, or a corrupted media cache. This guide walks you through the most common causes and their solutions, from quick checks to deeper settings adjustments. By the end, you'll know how to diagnose the problem systematically, restore your sound, and avoid the same headache on future edits.

Troubleshooting silent playback

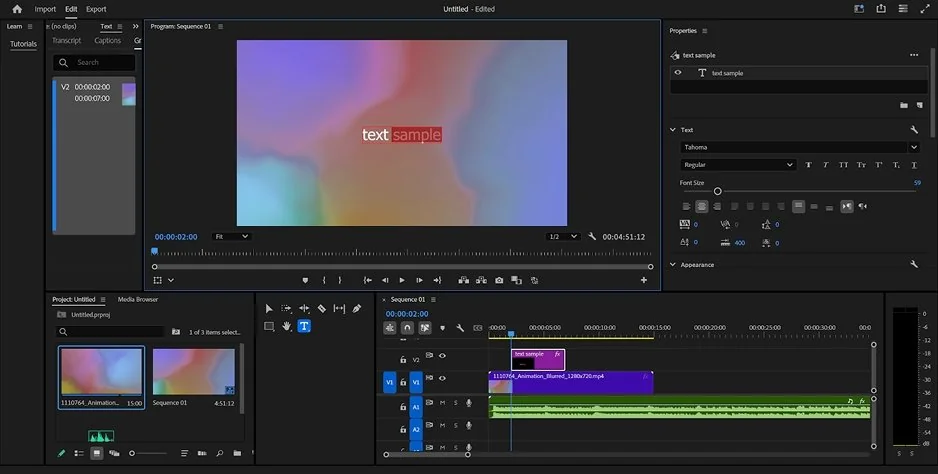
When you press the spacebar and your timeline plays back in silence, resist the urge to overhaul your settings straight away. Most cases of no sound in Premiere® Pro trace back to something simple sitting in plain view. Start by confirming the obvious: is the clip actually muted, is the volume fader pulled all the way down, or is the track itself toggled off? A single accidental click on the M (mute) or S (solo) button can silence an entire track without any warning.

Next, look at the clip on your timeline. If the audio waveform appears flat or missing entirely, the file may have been imported without its sound component, or you may have dragged only the video portion onto the sequence. Right-click the clip and check whether linked audio exists. Occasionally, audio is not working in Premiere® Pro because the clip is placed on a track that your project isn't monitoring at all.

Finally, test playback with a different clip or a fresh sequence. If sound returns, the issue is isolated to one file rather than your whole setup – a distinction that saves you hours of unnecessary troubleshooting. Working from the smallest, most visible causes outward keeps your diagnosis efficient and stops you from chasing complicated fixes when the answer is a muted button.

Fixing missing audio in your exported video

There's a special kind of frustration in hearing your timeline play perfectly, only to open the finished video and find it mute. When there’s no audio in Premiere® Pro after exporting, the problem usually lives in the export settings rather than the sequence itself. Open the Export panel and scroll to the Audio tab. Confirm that the Export Audio checkbox is actually ticked. It's easy to leave unchecked, and when it is, Premiere® renders your video without a single sound.

The format you choose also matters more than most editors expect. Certain presets, or a mismatched container and codec, can drop the audio stream during rendering. If you're exporting to MP4, make sure the codec is set to AAC rather than None, and verify the sample rate and bitrate are populated with sensible values. A blank or zeroed field here is a common reason Premiere® Pro audio is not working in the final file and never during playback.

Lastly, consider where the export is being played. A file that seems silent might simply be opening in a media player that lacks the right codec, so test it in a second application before assuming the render failed. Ruling out the playback environment first prevents you from re-exporting repeatedly to solve a problem that was never in Premiere® at all.

Fixing sync issues

Nothing pulls a viewer out of a video faster than a voice that arrives a beat too late. When you notice your video and audio out of sync in Premiere® Pro, the first thing to identify is whether the drift is constant or growing. A fixed offset, where the sound is always the same fraction of a second early or late, points to a simple alignment issue you can nudge back into place. A gap that widens as the clip plays, on the other hand, usually signals a deeper mismatch in frame rate or recording specifications.

That widening drift is the most common source of Premiere® Pro audio sync problems, and it typically stems from variable frame rate footage, which many phones and screen-recording tools produce. Premiere® expects a constant frame rate, so when it interprets footage that speeds up and slows down, the audio and picture gradually pull apart. The reliable fix is to run the clip through a free tool like HandBrake to convert it to a constant frame rate before you import, which resolves the timing at the source.

For a constant offset, the repair is quicker. Right-click the audio, unlink it from the video, and slide it manually until the waveform lines up with the visual cues. Once you understand what causes Premiere® Pro audio to be out of sync, realigning it becomes a matter of a few deliberate adjustments rather than guesswork.

Fixing crackle, clipping, and distortion

Distortion usually announces itself as harsh crackling, buzzing, or a muddy fuzz that makes speech hard to follow. Before diving into effects, learning how to fix distorted audio in Premiere® Pro starts with checking your levels. If a clip's waveform is peaking into the red – brushing or exceeding 0 dB – the signal is clipping. Pull the gain down until peaks sit comfortably around -6 dB, and much of the harshness often disappears on its own.

If lowering the level doesn't fully clean things up, Premiere®'s built-in tools can. To fix distorted audio in Premiere® Pro, open the Essential Sound panel, tag the clip as Dialogue, and enable the DeClipper or DeNoise sliders. Nudge them gradually rather than pushing them to the maximum, since heavy processing can hollow out a voice and introduce a watery, artificial texture.

Sometimes the trouble originates before Premiere® ever opened. Fixing distorted audio in Premiere® Pro can't fully repair a recording that was captured too hot at the source, so when the damage is baked in, your best result comes from re-recording the audio or replacing it where possible.

Which audio formats Premiere® Pro actually accepts

Sometimes silence isn't a settings problem at all – it's a format Premiere® can't read. The program handles common types like WAV, AIFF, MP3, AAC, and the audio inside M4A and MP4 containers without complaint. Trouble tends to appear with less standard files, such as FLAC or certain WMA variants, which may import as video with no usable sound. When a file refuses to cooperate, converting it to WAV or AIFF first gives you a clean, uncompressed track that Premiere® reads reliably.

Beginner-friendly alternative: Movavi Video Editor
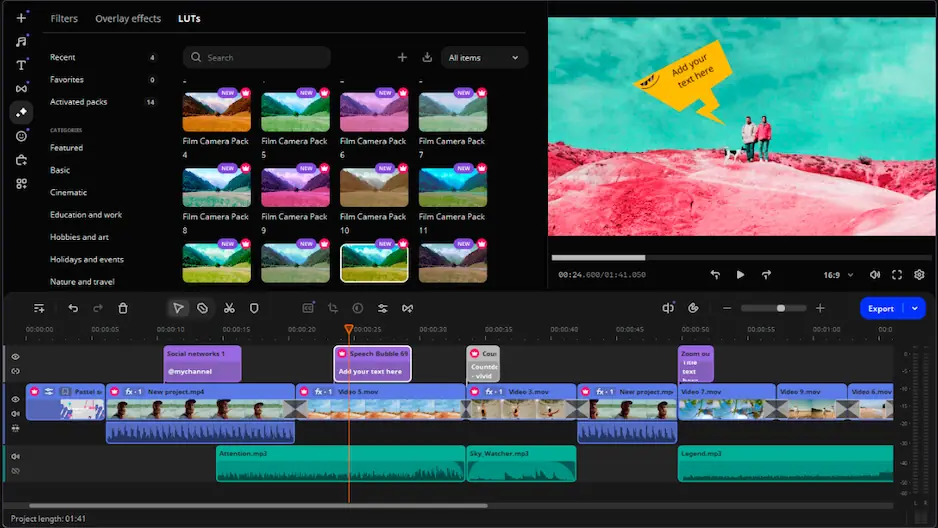
If wrestling with Premiere®'s audio settings has worn you down, it may be worth trying a lighter tool for certain projects. Movavi Video Editor takes a more approachable route, wrapping many of the fixes covered above into simple, one-click controls. Its interface is built with beginners in mind, so muting tracks, adjusting levels, and syncing sound feel intuitive rather than buried in nested menus.

For everyday editing, including social clips, family videos, and quick tutorials, Movavi Video Editor handles common audio hurdles with noticeably less friction. It reads popular formats out of the box, includes built-in noise removal and equalizer tools, and keeps export settings straightforward. It won't replace Premiere® for large professional pipelines, but as a low-stress option for straightforward work, it's a genuinely practical choice worth keeping on hand.


Have questions?
If you can’t find the answer to your question, please feel free to contact our Support Team.
Join us for discounts, editing tips, and content ideas

1.5M+ users already subscribed to our newsletter

By signing up, I agree to receive marketing emails from Movavi and agree to Movavi's Privacy Policy.