
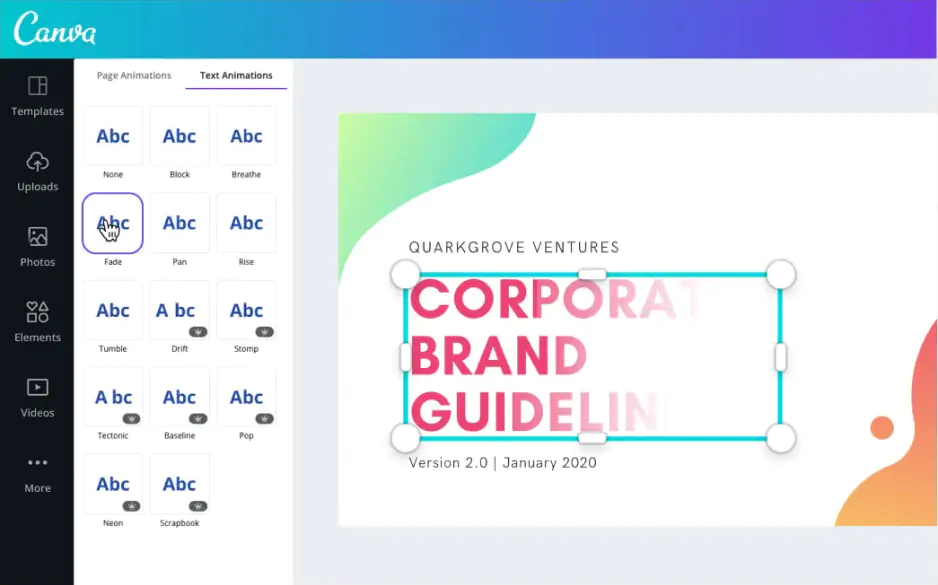
Why Is My Canva Download Blurry? Causes & Fixes

Edited by
Ben Jacklin
5,072

If you've ever downloaded a design from Canva only to find it looks pixelated or soft, you're not alone. Canva download blurry results are one of the platform's most common frustrations. Whether you're preparing a professional presentation, a social media graphic, or a printed flyer, a blurry export can undermine all your hard work in an instant. The issue can stem from several factors, including incorrect export settings, low-resolution source images, or simply choosing the wrong file format for your intended use. The good news is that this problem is almost always fixable once you understand what's causing it.

Why exports from Canva lose quality

Canva is a powerful design tool, but its export process involves several compressions and conversions that can degrade your final file. If you’re wondering “Why is my Canva download blurry?”, understanding why this happens is the first step toward consistently getting sharp, professional-looking results.

One of the most common culprits is the file format you choose at the moment of download. Formats like JPEG apply lossy compression by default, meaning the software actively discards visual data to reduce file size. The more compressed the file, the more detail is lost. And that loss becomes especially visible in text, fine lines, and gradient-heavy designs.

Another frequent issue is working with low-resolution images inside your Canva project. Even if your dimensions are technically large, placing a small or web-sourced image into your design introduces a weak link. Canva cannot manufacture pixels that don't exist, so those elements will always export soft regardless of your settings. This problem is familiar to editors who also deal with media quality issues, when source footage has insufficient bitrate or resolution.

Finally, Canva's default export settings aren't always optimized for every use case. A design destined for print demands significantly higher resolution than one built for Instagram. If you download without adjusting these settings to match your intended output, quality loss is practically inevitable.

How to configure export settings for maximum clarity

So, why is Canva saving blurry images or videos? Getting a high-quality export is the direct result of choosing the right settings before you hit Download. Most users skip past the export options entirely, which is precisely where quality is lost.

For static designs like posters, presentations, or social media graphics, PNG is your best friend. Unlike JPEG, PNG uses lossless compression, preserving every pixel of detail in your design. When exporting, always check the available resolution multiplier if your Canva plan supports it. Selecting the highest available option ensures your file contains enough pixel density for both screen and print applications.

For video content exported from Canva, the stakes are even higher. Always select MP4 at the highest available quality setting, and pay close attention to the resolution dropdown. Exporting at 1080p or above is essential if your footage will be edited in professional software afterward.

Finally, always match your canvas size to your intended output before designing. Starting with a 1920 × 1080 or 3840 × 2160 canvas ensures Canva has the full resolution headroom to deliver a sharp export every time.

Choosing the right bitrate for clean exports

Bitrate is one of the most misunderstood settings in video export, yet it has a great impact on the final quality of your file. Simply put, bitrate determines how much data is used to represent each second of video. The higher is the value, the more visual information is preserved, and the sharper your output will appear on any screen.

When exporting video content from Canva, a bitrate that's too low will introduce visible artifacts: blocky compression, smeared motion, and washed-out colors. As a general rule, aim for a minimum of 8 Mbps for 1080p content and 35–45 Mbps for 4K. If you're also exploring how to enhance image quality in Canva for static elements within your video, pairing high-bitrate export with PNG-sourced graphics inside your timeline will result in noticeably cleaner output.

It's equally important to align your bitrate choice with your delivery platform. Streaming platforms like YouTube re-compress uploaded files, so uploading at a higher bitrate gives the platform more data to work with, resulting in a better-looking final product for viewers. For direct downloads or client deliverables, choose a higher bitrate – storage is cheap, but lost quality is impossible to recover after the fact.

The difference between preview and final export

A source of confusion for Canva users is the gap between how a design looks inside the editor and how it appears once downloaded. Canva's live preview is intentionally rendered at a reduced resolution to keep the editor fast and responsive.

This distinction matters enormously when troubleshooting quality issues. If your design looks sharp in the editor but soft after downloading, the problem almost certainly lies in your export settings rather than the design itself. This is the most direct answer to the question "Why are my Canva downloads blurry?" – the editor preview was never meant to reflect export results.

The reverse can also catch users off guard: occasionally a design appears slightly rough inside the editor due to Canva's preview compression, yet exports cleanly at full resolution. Always judge quality by the downloaded file itself, opened at 100% zoom in an image viewer, rather than by how it looks within the Canva workspace.

Try an alternative: Movavi Video Editor
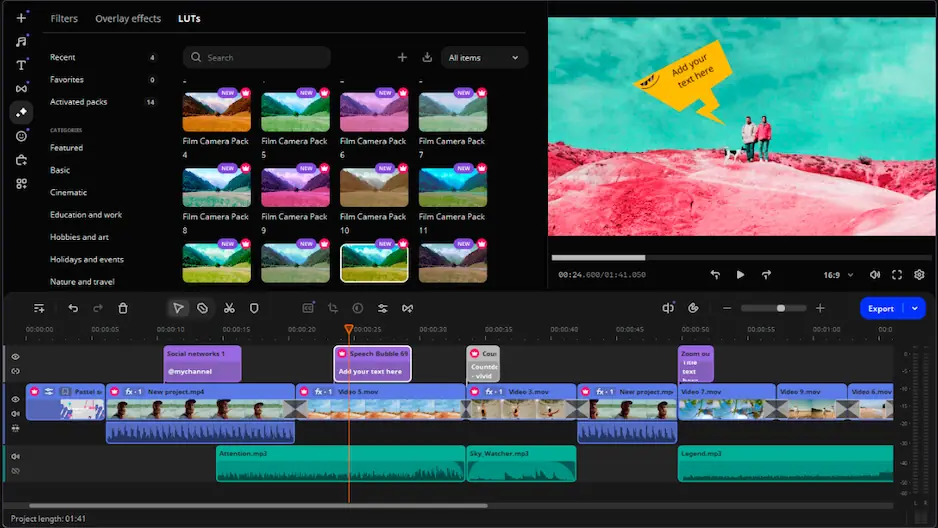
If you've worked through every Canva export setting and your downloads are still falling short of the quality you need, it may be time to consider a dedicated video-editing tool. Movavi Video Editor is a strong alternative worth exploring, particularly for users who need reliable, high-quality output without a steep learning curve.

Movavi Video Editor gives users direct control over resolution, bitrate, codec, and frame rate at export. This makes it especially well-suited for content creators, small business owners, and marketers who need broadcast-ready results consistently. Movavi also handles video stabilization, noise reduction, and color correction natively, meaning you can address quality issues at the editing stage rather than discovering them after export.


Have questions?
If you can’t find the answer to your question, please feel free to contact our Support Team.
Join us for discounts, editing tips, and content ideas

1.5M+ users already subscribed to our newsletter

By signing up, I agree to receive marketing emails from Movavi and agree to Movavi's Privacy Policy.