Best Free RAW Photo Editors

Movavi Photo Editor
  • Image restoration with neural networks
  • Effective object and background removal
  • Automatic photo enhancement in one click
  • User-friendly interface with tips

By clicking the download button, you're downloading a trial version of the program.*

Key takeaways

  • The lineup moves from Lightroom® and Capture One to Photoshop®, Darktable, Snapseed. Some feel like full workspaces for a PC, others open quickly and feel more casual, almost temporary.
  • On paper, they overlap a lot. In use, not really. One RAW image editor lets you fix a photo in seconds. Another pulls you into small adjustments you did not plan to make. Paid tools and free RAW photo editing software also start to feel different the longer you use them.
  • You usually notice the right fit mid-edit, not before. If every move feels too strong, it is easy to push things too far. Slowing down, making smaller changes, then checking again tends to hold the image together better.

A RAW photo is not really a photo in the usual sense. It is closer to a digital negative that still needs to be “developed” before it looks the way you expect. That is probably why the same file can feel flat and dull in one program, then suddenly come alive in another. While testing different tools, I kept running into this strange effect where the image seemed to change character depending on the program I opened it in. Working through several types of RAW editing software made me realize that editing is less about fixing a picture and more about choosing how it should exist. Some tools make that choice quick and intuitive, others turn it into a slow process of trial and error. This guide brings together both free and premium options, including more than one free RAW photo editor that held up well in actual use.

Comparison Table: Best RAW Photo Editors

Program

OS

Main advantages

Windows, macOS, iOS, Android, Web

Fast RAW workflow, strong organization, batch editing

Windows, macOS, iPad

Advanced color control, precise editing, tethered shooting

Windows, macOS

Simple workflow, quick edits, AI object removal

Top RAW photo editors

  • Why I picked it

    Fast, reliable RAW workflow with strong organization and consistent results across large photo sets

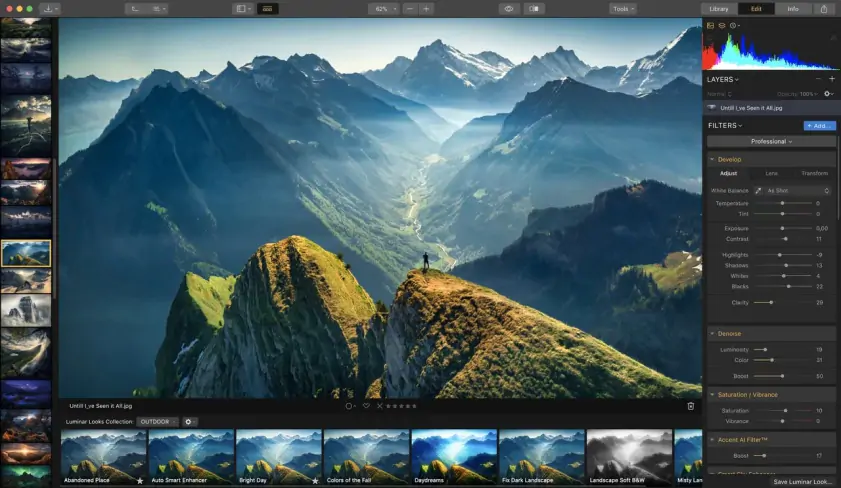
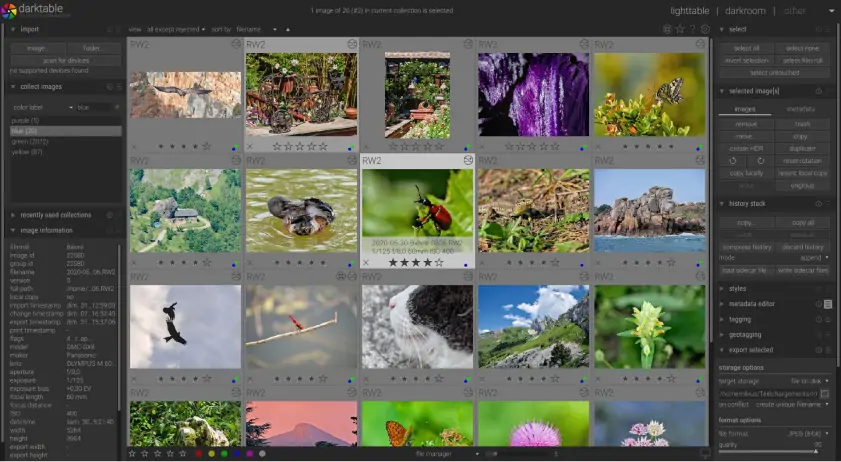
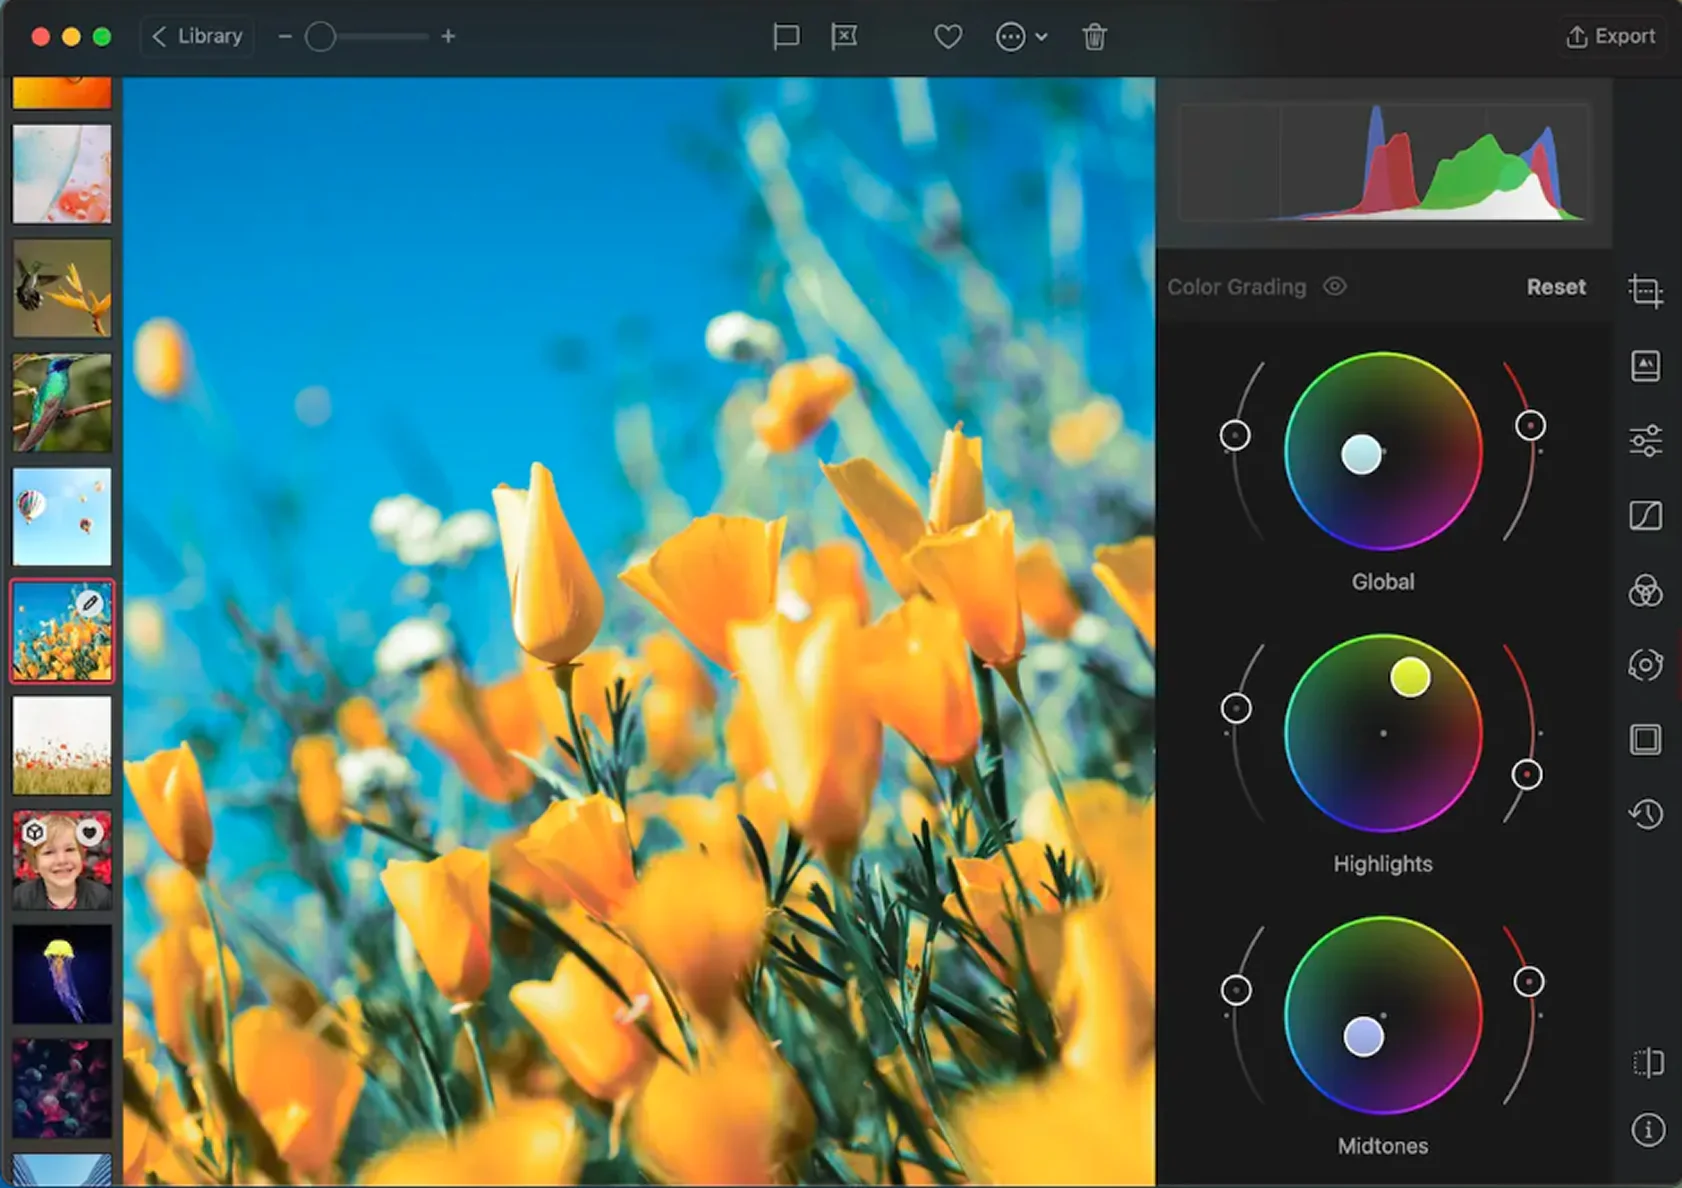
Adobe® Lightroom® is built around RAW processing. Working with unedited files feels natural from the start. I imported a set of RAW shots and everything stayed organized in a clean library. Sorting and selecting images took less time than expected.

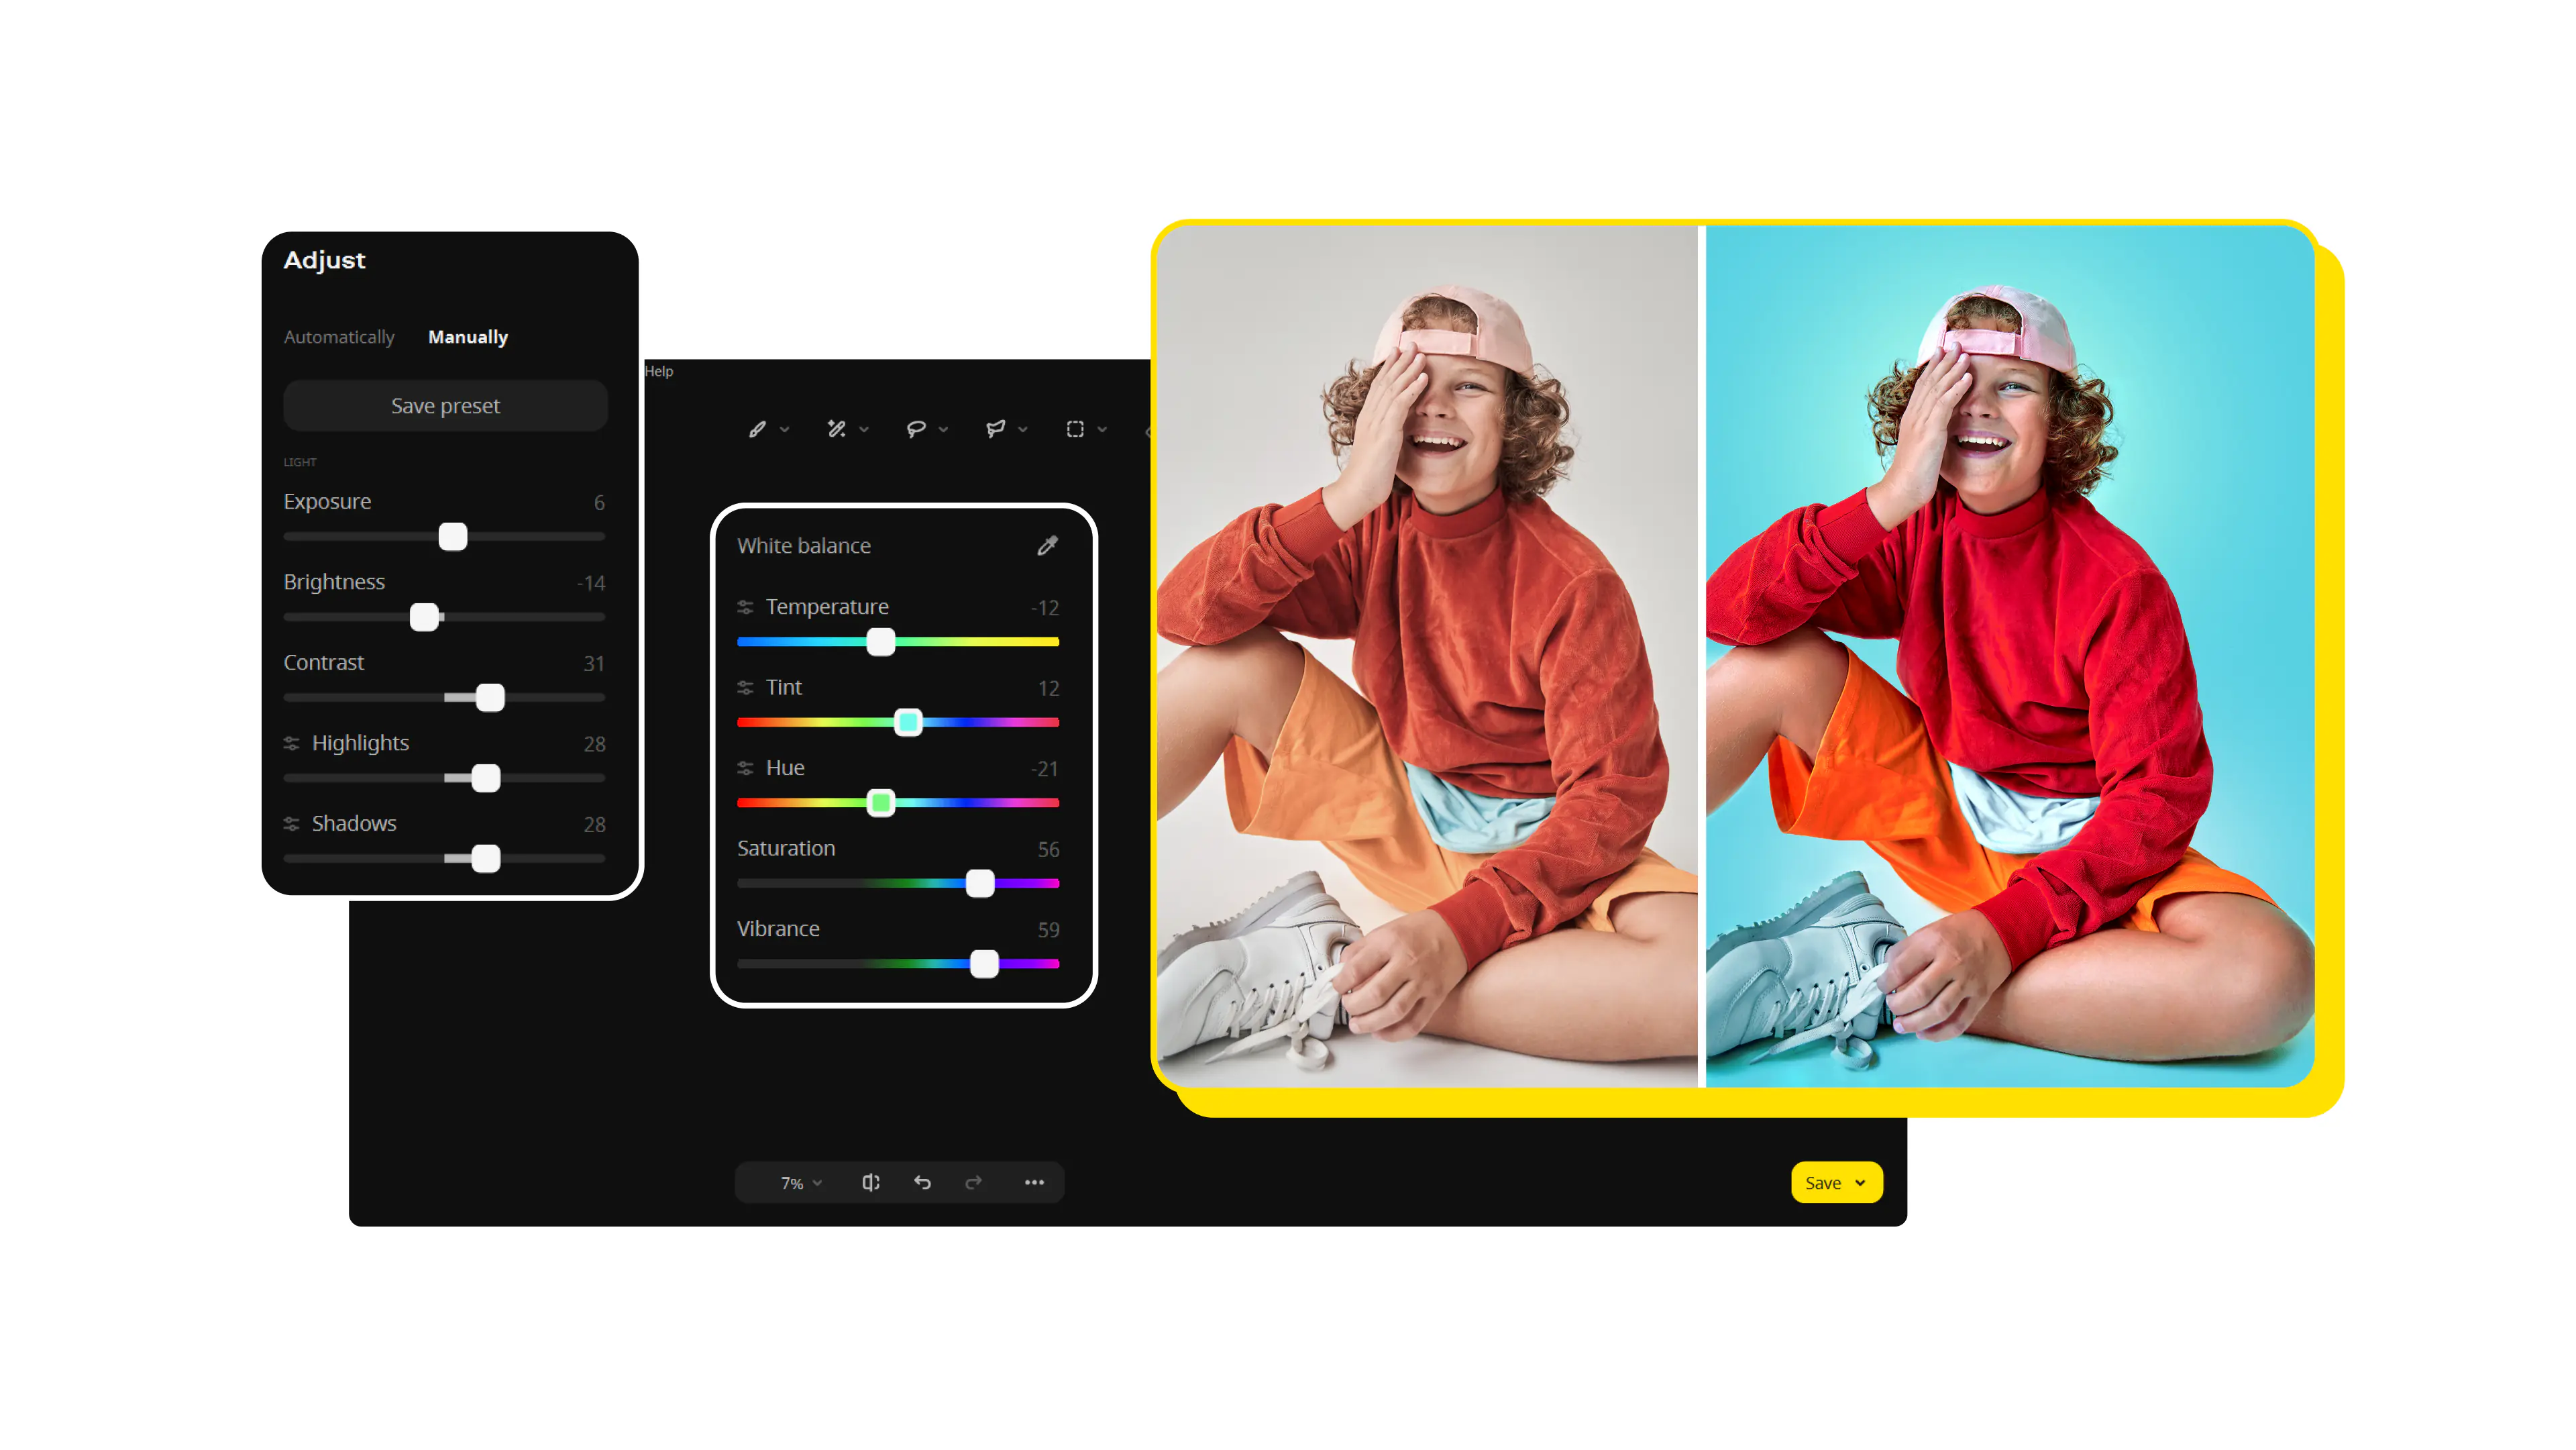
The sliders respond instantly. Exposure and color adjustments feel controlled, even with small changes. Nothing jumps too far. Lightroom® gives full access to RAW data, so recovering highlights or correcting white balance stays flexible and precise.

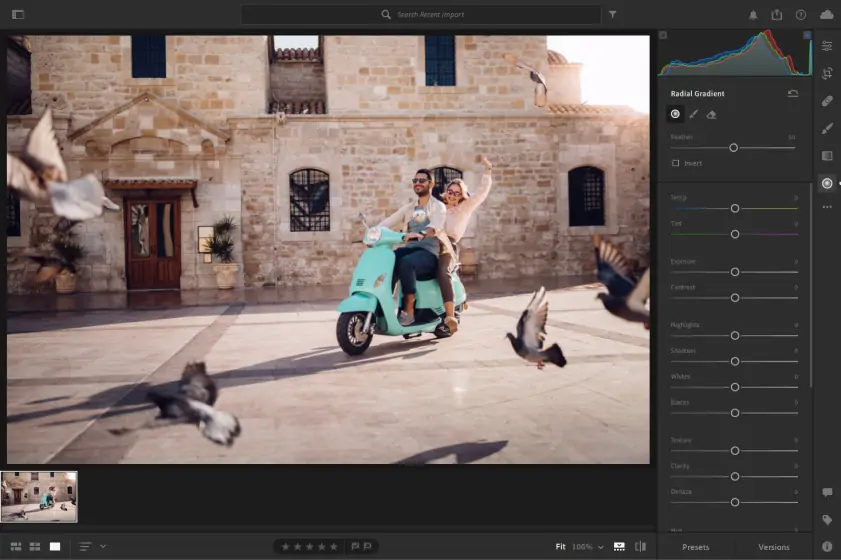
Local adjustments add another level of control. You can edit specific areas instead of changing the whole image. The non-destructive workflow keeps the original file untouched, so every edit can be revised at any time.

It also handles large photo sets well. Batch edits and presets help maintain a consistent look across multiple images. This becomes especially useful when working with full shoots instead of single photos.

Recent updates focus on workflow improvements. Assisted Culling now handles shallow depth of field more accurately, so intended blur is less likely to be rejected. Presets and profiles load faster, and white balance previews are more consistent when adjusting color.

Ratings

Pros:
disclaimer_person
At Movavi, our primary goal is to provide you with only verified information. Here’s what we do to ensure this:
  • When selecting products to include in our reviews, we research both demand and popularity.

  • All the products in this article have been tested by Movavi Content Team.

  • We compare the key characteristics of every product, including photo scaling and cropping, object and background removal, image restoration, and other significant features.

  • We study user reviews from popular review platforms and make use of this information when writing our product reviews.

  • We collect feedback from our users and analyze their opinions of Movavi software as well as products from other companies.

  • Why I picked it

    Exceptional color control and precise editing for photographers who want deeper control over RAW files

Capture One feels like a tool designed for photographers who care about how a RAW file behaves at a deeper level. When I worked with a set of images, the first thing I noticed was how rich the colors looked before any major edits. The software is known for its advanced color control, and it shows when fine-tuning tones or working on skin tones .

Editing stays flexible thanks to a layer-based system, so you can adjust specific parts of an image instead of applying changes globally . I found this especially useful when balancing light across complex scenes. The RAW processing itself feels detailed and consistent, with strong control over highlights, contrast, and texture .

Capture One also fits well into structured workflows. You can organize files through catalogs or session-based projects, which helps when working on larger shoots . It takes time to get used to, but once it clicks, the level of control becomes hard to ignore.

Recent updates add more flexibility to connected workflows. You can now move files between Capture One and Affinity using .af format support, keeping layers and edits intact. Export tools have also improved, with a new folder-based organization that helps manage complex delivery setups more easily.

Ratings

  • Why I picked it

    Quick and simple RAW editing with powerful object removal and minimal setup

Movavi Photo Editor approaches RAW editing in a way that feels… lighter. It does support RAW files, but it doesn’t turn them into a long, technical process. You open an image and you’re already working on it. No catalog setup, no extra steps. Just the photo in front of you.

What I kept noticing is how quickly small problems disappear. A person in the background, a distracting object, something you didn’t catch while shooting. The erase objects tool handles these cases almost too easily. On simple backgrounds, it works in one go. On more complex ones, you might need a second pass, but still, it’s faster than expected.

Basic adjustments are straightforward. Exposure, color, contrast… everything reacts without delay, and more importantly, without strange jumps. You move a slider, and it does exactly what you think it will. That alone saves time.

It’s not built for deep, technical RAW processing, and you feel that. But honestly, that’s also the point. For quick edits, cleanup, and getting a photo to look right without overthinking it, it ends up being one of the more practical options.


Ratings

4.2/5

Pros:
Cons:
  • Limited advanced editing features

  • Why I picked it

    Advanced automatic corrections and strong noise reduction for high-quality image output

DxO PhotoLab 9 approaches RAW files from a correction-first angle. Instead of starting with manual tweaks, it builds a clean foundation using data from your camera and lens. Distortion, softness, and noise are addressed early through built-in optical profiles, so the image already looks refined before you touch any sliders. That changes the whole editing flow.

The real strength shows up in difficult lighting. High-contrast shots hold together better, with more detail preserved in both bright and dark areas. I kept going back to shadow recovery, since it handled tricky files in a way that felt closer to the original scene rather than an edited version. Noise reduction is another strong point, especially on higher ISO images where detail often gets lost.

Local adjustments are available through tools like control points, though they take some time to get comfortable with. The interface is not the fastest to learn. Still, once you settle in, the focus on image quality becomes very clear.

Latest updates introduce AI Masks, which change how local edits are applied. You can select subjects like sky or faces automatically and adjust them with precision, then reuse those edits across images. The newer diffusion option softens mask edges, helping transitions look more natural, especially in complex scenes.

Ratings

Cons:
  • Expensive pricing

  • Complex and technical interface

  • Why I picked it

    Extended editing control after RAW adjustments through layers, masks, and detailed retouching tools

Adobe® Photoshop® starts RAW editing in a separate Camera Raw window, then continues the work in its main editor with layers and detailed adjustments. When I open a RAW file, I adjust exposure and color first before moving further. I tend to spend more time on tonal balance here, especially when pulling detail from bright skies or deep shadows.

Adjustments feel precise rather than overly reactive. Small changes to white balance or contrast stay controlled, even on complex images. Detail tools also stand out, particularly when refining texture without pushing it too far.

After that stage, I open the file into Photoshop and continue with the layers. This is where the workflow shifts. I can isolate areas, combine edits, or rebuild parts of the image. It involves more steps than dedicated RAW editors, but the flexibility extends well beyond basic RAW processing.

Latest updates make tricky edits quicker to handle. The Remove tool now picks out distractions on its own, Generative Fill feels more natural and easier to guide, and there’s a new option to clean up reflections in photos shot through glass.

Ratings

4.6/5

5.0/5

  • Why I picked it

    Detailed, hands-on editing with strong control over every stage of the image

Affinity Photo 2 breaks RAW work into two separate spaces, and that shift is noticeable right away. You start in the Develop Persona, handle exposure and color, then commit the image and move forward. It is not instant. There is a small pause before the next stage, but it forces you to think about the base image first.

Some edits take longer here, in a good way. I caught myself going back to small areas, adjusting tones or textures more carefully than usual. The tools do not rush you. Layers and masks are always close, so you can isolate parts of the image and work on them quietly, piece by piece. It feels closer to manual work than automated correction.

RAW adjustments stay editable, so nothing is locked in too early. There are also tools like HDR merge and focus stacking when one frame is not enough. It is not the fastest workflow. Still, it suits images that need attention rather than speed.

Version 2.6 improves selection tools and expands device support. The updated RAW engine adds compatibility with newer cameras, while interface refinements like faster brush search and smoother controls improve workflow.

Ratings

  • Why I picked it

    FreeAI-driven tools that speed up editing and deliver fast visual impact

Luminar Neo takes a more automated path when working with RAW images. Instead of building everything around manual sliders, it introduces AI tools early in the process. You still get exposure, highlights, and color controls, but they sit next to features that can reshape the image in broader ways.

I kept coming back to Relight AI when dealing with uneven lighting, since it can adjust foreground and background separately. That is not something you usually get from standard RAW tools, and it changes how quickly a difficult shot can be balanced. Sky AI and object removal tools push things further, letting you replace skies or clean up distractions with minimal input. The results are not always perfect, but they often get close enough to move forward without extra steps.

Edits stay non-destructive, so you can revisit changes later, and there is a simple catalog for organizing images. It does not aim for fine precision. Still, when the goal is fast visual impact, it offers a very different way to approach RAW editing.

Version 1.27.0 refines portrait editing with better skin and facial adjustments. Improved masking makes edits blend more naturally, and expanded camera support enhances compatibility with high-resolution files.

Ratings

4.4/5

4.0/5

Pros:
Cons:
  • Limited advanced editing features

  • Slow performance on some systems

  • Why I picked it

    Deep, technical control with a modular workflow for advanced RAW processing

Darktable approaches RAW editing from a more technical side, and that shows right away. Instead of a simplified layout, it relies on a system of modules that you combine step by step. The workflow feels closer to assembling an image rather than adjusting it in a straight line. It supports many RAW formats and uses a non-destructive pipeline, so every change remains editable throughout the process.

The tone equalizer stands out once you start working with difficult lighting. It breaks the image into tonal zones, so brightness can be adjusted with more precision than a single exposure control allows. That changes how contrast-heavy scenes are handled. Colors and details can be shaped in smaller steps, which gives more room for careful adjustments.

The moment that really stayed with me was how selectively shadows could be lifted without flattening the rest of the image, since the tone equalizer works across defined tonal ranges instead of pushing the whole exposure. The interface takes time to understand, and some tools are not immediately clear. Still, for those who want detailed control, it offers a workflow that feels very open.

Version 5.4.0 adds new tools and improves workflow. Capture sharpening helps recover fine detail, while the AgX-based tone mapping improves contrast and color transitions. Multiple workspaces also allow different editing setups.

Ratings

Pros:
  • Why I picked it

    High level of manual control for users who want to fine-tune every detail

RawTherapee does not try to charm you at the start. You open it and everything is on the screen. Sliders, tabs, numbers that matter. It can feel rough at first, almost like the wrong tool. After a few minutes, you realize nothing is hidden, and that shifts the experience.

At some point I stopped looking at the whole photo. A sleeve, a cheek, a noisy shadow. Small areas started to matter more. I nudged sharpening, pulled it back, and tried again. The same with micro-contrast. Sometimes it helped, sometimes it did not. There is no shortcut. You have to find the limit, and it is easy to miss at first.

There is a lot under the surface. Color tools, denoising, lens corrections, batch processing. Edits stay flexible, so you can always return. It is not fast, and not meant to be. But if you like working close to the image, that control becomes rewarding.

Version 5.12 adds deeper color and tone control. Gamut Compression helps manage highly saturated colors, while new tone mapping options refine how light transitions are handled.

Ratings

4.1/5

Pros:
  • Why I picked it

    Creative, style-first workflow with strong filters and flexible masking tools

Polarr Pro does not follow the usual RAW editing logic. It leans toward building a visual style first, then adjusting the details around it. Standard controls are still present. Exposure, highlights, HSL, curves, sharpening, denoise. But they sit alongside a much larger system of filters, overlays, and AI effects that shape the image early on.

The workflow shifts once filters come into play. Instead of adjusting values step by step, it becomes more about combining looks and refining them. Masks support this approach. Depth, color, and selective tools let you work on specific areas while leaving the rest unchanged. Color matching between images adds another layer, especially when working with a set of photos.

There is more under the surface. AI tools handle face edits and object adjustments, and presets can be synced across projects. Polarr runs across iOS, Android, web, and a beta version with newer features. It is not built for deep RAW processing. Still, for fast styling and flexible edits, it offers a workflow that stands apart.

Ratings

4.4/5

Pros:
Cons:
  • Why I picked it

    Fast mobile RAW editing with smooth performance across Apple devices

Darkroom leans heavily into a mobile-first workflow, and it shows from the moment you load a RAW file. The image appears almost instantly, even on a phone, which changes how casually you can approach editing. I ended up making adjustments in short bursts instead of setting aside time for a full session.

The layout stays minimal, but not limiting. Core tools like exposure, white balance, and curves are easy to access, and they respond in a way that feels steady rather than overly sensitive. I spent more time fine-tuning color than expected, especially using selective color controls to adjust specific tones without shifting the entire image.

Another detail that stood out is how edits carry across devices. Moving from iPhone to Mac does not interrupt the process, so you can refine the same RAW photo later on a larger screen. It is not designed for deep technical workflows. Still, for quick, consistent edits within the Apple ecosystem, it fits naturally into everyday use.

Version 7.1 expands the way image data is handled, with a redesigned metadata viewer that shows more detailed information in a clearer format. It also adds print support on Mac, extending how finished images can be used beyond editing.

Ratings

4.4/5

Pros:
  • Intuitive controls and tools

  • Useful integrations and sharing features

Cons:
  • Why I picked it

    Intuitive gesture-based controls and strong selective editing on mobile

Snapseed handles RAW editing in a way that feels more tactile than most mobile apps. It works with DNG files, and I kept using it when I needed quick but precise fixes. You open the image and start adjusting right away, without complex setup or layered workflows.

The controls take a moment to get used to. Instead of sliders, you swipe across the screen to change values. At first it feels unusual, but then it clicks. I ended up making smaller, more careful adjustments, especially for exposure and contrast.

Selective edits are where it stands out. I could brighten a face or tone down a bright background in just a few steps. That level of control is easy to overlook until you need it. It does not replace desktop RAW editors, but as a compact mobile app, it covers more than expected.

Latest updates add a built-in camera with film-style looks inspired by classic stocks like Portra and Superia. I ended up thinking about the final image earlier than usual, even before opening the editor. It changes the rhythm a bit. Some of the decisions happen at the moment of shooting, not later during editing.

Ratings

Cons:
  • Why I picked it

    Focused color grading tools for precise tone and style adjustments online

fylm.ai moves away from typical RAW correction and puts you straight into color work. It runs in a browser, so there is no setup or heavy workflow. The image appears, and the focus shifts to color decisions immediately.

The interface centers on color wheels for shadows, midtones, and highlights, which changes how you work. I spent more time balancing tones than adjusting exposure. Small shifts mattered more than expected, especially when keeping a consistent look across images. It feels more like shaping than fixing.

RAW files need to be prepared in advance, so it does not replace full editing software. Still, edits stay flexible, and LUT support helps build a reusable look. As an online tool, it keeps a clear focus on color direction.

The latest version extends compatibility across different environments. ACES 2.0 support improves how projects translate between tools, and the new Premiere Pro extension makes it easier to carry grading work into video timelines.

Ratings

Pros:
Cons:

14. VSCO

  • Why I picked it

    Film-style presets and a visual-first approach to shaping image mood

VSCO treats RAW photos less like something to correct and more like a starting point for direction. RAW editing is available on iOS, and I kept going straight to presets before touching anything else. They set the tone early, so the process feels less technical from the start.

Each preset shifts color and contrast in a controlled, film-inspired way. Some deepen shadows, others soften highlights or nudge tones just enough. I spent more time comparing looks than adjusting sliders.

Manual tools are still there when needed. Exposure, white balance, grain. Just enough to refine the image after the main direction is set. Exports are JPG, so it does not replace full raw editing software. As a mobile app, it works best when mood matters more than precision.

VSCO AI Lab explores a different side of the platform. It introduces experimental tools that generate and transform images using AI, opening up new ways to build visual ideas beyond standard editing. I found it useful when testing directions quickly or creating variations that would take much longer to build manually.

Ratings

Pros:
Cons:
  • Why I picked it

    Full-featured browser editor with layers and RAW support in one place

Photopea handles RAW files inside a browser, but the experience leans closer to working in a full editor than a lightweight tool. It supports formats like DNG, NEF, and CR2, and I found myself staying in one place longer than expected instead of jumping between apps. The image opens in a RAW adjustment panel first, then moves into layered editing, so the process does not feel split into separate stages.

The structure follows a familiar pattern. Panels, layers, masks. That changes how RAW files are handled. Instead of finishing corrections first, I moved between color fixes and detailed edits at the same time. One moment adjusting highlights, the next refining a small area with selections. I also ended up experimenting with layouts, especially when combining multiple images into grid collages.

Speed depends on the browser and file size, so heavier images take a bit more patience. Still, everything runs locally, and files stay on your device. It is not a traditional raw editing software, but as an online editor, it offers a level of control that is hard to expect from a browser tool.

Ratings

Cons:

How to choose the best RAW photo editor

Most RAW editors do not differ much in what they can do. The difference is in how they make you think while editing.

Movavi Photo Editor removes most of that thinking. You open a photo and react. Fix, remove, adjust, done. It works best when editing is just a quick step, not a full process.

Lightroom® shifts the focus away from single images. It feels more like sorting and aligning a set. You stop asking how to fix one photo and start thinking about how the whole series should look.

Capture One expects more attention. Small color shifts, subtle tones, minor imbalances. It rewards patience. Changes are gradual, but the image becomes more controlled over time.

Photoshop® moves beyond simple correction. You rebuild the image. Separate parts, combine elements, change direction midway. The RAW file becomes just one piece of a larger composition.

DxO PhotoLab 9 works earlier in the process. It corrects the image before you start editing, fixing noise, lens issues, and contrast. You spend less time repairing and more time deciding what to keep.

Luminar Neo takes the opposite path. You push toward a final look early, sometimes in one step, then refine later. It is more about direction than precision.

Darktable offers no guidance. It breaks the image into modules. Light, tone, color. You build everything manually, step by step.

Choosing a RAW editor is not just about desktop tools. Some run in a browser, which changes how and where you edit. In the end, it comes down to control. Some tools simplify decisions and speed things up. Others slow you down and give you more to work with.

Movavi Photo Editor
Easily enhance images and get professional-grade results in a snap.

*The trial version of Movavi Photo Editor has the following restrictions: you can save up to 10 images with added watermark, screenshots are disabled.

Frequently asked questions

What is the easiest raw photo editor to use for free?

Snapseed is the one you open without planning. No setup, no pause. You jump into a photo, make a few tweaks, and it already looks better. The interface fades away, letting you react to the image. It works well as a free RAW editor that stays out of your way.

On desktop, Movavi Photo Editor feels similar, just with more space. It is not fully free, but the trial is enough to test it. Remove objects, adjust light and color, and quickly see if it fits your workflow.

Is Darktable completely free?

Yes, everything is available from the start. You install it and that is the full version.

What stands out more is how direct it feels. The interface can look crowded, and it does not explain much. At first, it can feel like too many options at once. Then, slowly, things start to connect, but only if you spend time with it.

Which photo editor is 100% free?

Darktable and RawTherapee are free in a very straightforward way. You download them and all tools are already there. No locked features, no prompts to upgrade.

Snapseed fits here too, just on the lighter side. It is the one you open when you want to fix something quickly and move on. Movavi Photo Editor sits a bit apart. It is not fully free, but the trial lets you test how it feels before deciding if you need more.

Is RawTherapee completely free?

Yes, there is no paid version behind it. You install it once and everything is open.

It can feel rough at the beginning. Sliders, panels, a lot happening on screen. It does not guide you much. But after some time, you start noticing how precise it can be, especially in small adjustments that other editors tend to smooth out.

Have questions?
If you can’t find the answer to your question, please feel free to contact our Support Team.
Join us for discounts, editing tips, and content ideas

1.5M+ users already subscribed to our newsletter

By signing up, I agree to receive marketing emails from Movavi and agree to Movavi's Privacy Policy.